Last Updated on May 2, 2023 by Charlie Nash
Congratulations on your new trampoline! Trampolines are a great source of excitement and fun for both children and adults. However, the thought of setting up a trampoline can be daunting and overwhelming. The good news is that assembling a trampoline is not as difficult as you might think. Putting together a trampoline may seem like a daunting task, but with the right tools, a bit of patience, and some helpful tips, you’ll have your trampoline up and ready for bouncing in no time!
Most companies offer trampoline installation services, but you will have to pay extra for this service. If you are on a tight budget, it would help if you first learned how to put a trampoline together. You may construct the trampoline with the aid of one or two people. You may also accomplish it as a do-it-yourself project.
In this guide, we’ll walk you through the step-by-step process of how to put a trampoline together, including the tools you’ll need, safety considerations, and helpful tips to make the process as smooth as possible. So let’s get started and get ready to jump for joy on your new trampoline!
- How Long Will It Take to Set Up a Trampoline?
- How to Put a Trampoline Together?
- Read Guidelines
- Clear Space
- Step 1: Open the Box and Review the Parts
- Step 2: Check the Tools Required for Assembling
- Step 3: Go Through the Manual
- Step 4: Start with the Frames and Legs
- Step 5: Install the Springs and the Mats
- Step 6: Add the Safety Pad
- Step 7: Add a Safety Net
- Step 8: Add the Ladder and Secure it with Anchor Kit
- Common Trampoline Assembly Problems
- FAQs
- Conclusion
How Long Will It Take to Set Up a Trampoline?
Many people are hesitant to buy a trampoline because they believe it would take too much to install, but it can be done in as little as two hours with the correct equipment. Small indoor trampolines offered nowadays may be set up in as little as half an hour.
For individuals who are still apprehensive about doing a primary outdoor job, having the appropriate equipment on hand, and enlisting the assistance of others may significantly reduce the time required. It simply takes a moment to double-check that everything else is in order priorly, and it will be up and running before you realize it.
What Tools do you Need?
Putting together any large object may be intimidating, but understanding precisely what equipment you need will help alleviate those fears. Because of the ease of construction, just a few tools are required, and none of them must be power tools. The following tools are required for assembling the trampoline:
- Screwdriver
- a Puller (T-hook for pulling springs)
- Rubber Mallet
- Gloves for safety
How to Put a Trampoline Together?
Good organization is essential for effectively building your trampoline; therefore, the instructions below will assist you in maintaining everything straight.
Read Guidelines
Check the guidelines that came with the product before something else. For example, before removing any parts from the package, ensure that each procedure is completely understood. It may appear to be a waste of money and time, but each brand has its unique set of instructions.
The guidelines should also contain a components list that may be used to confirm that everything is included, and it should be available for ticking off things as they get done.
Clear Space
The first step you should do before beginning to set up a trampoline is to prepare your space. Surely before ordering and learning how to put a trampoline together, you have decided on its placement. Where are you going to put this trampoline and see if you have enough space?
Also Read: What Size Trampoline Do I Need?
Pro Tip: You need to keep a minimum distance of 1.5m from all sides of the trampoline. Keeping this in mind, if you have decided a place then, follow the steps below to build your trampoline properly:
Step 1: Open the Box and Review the Parts
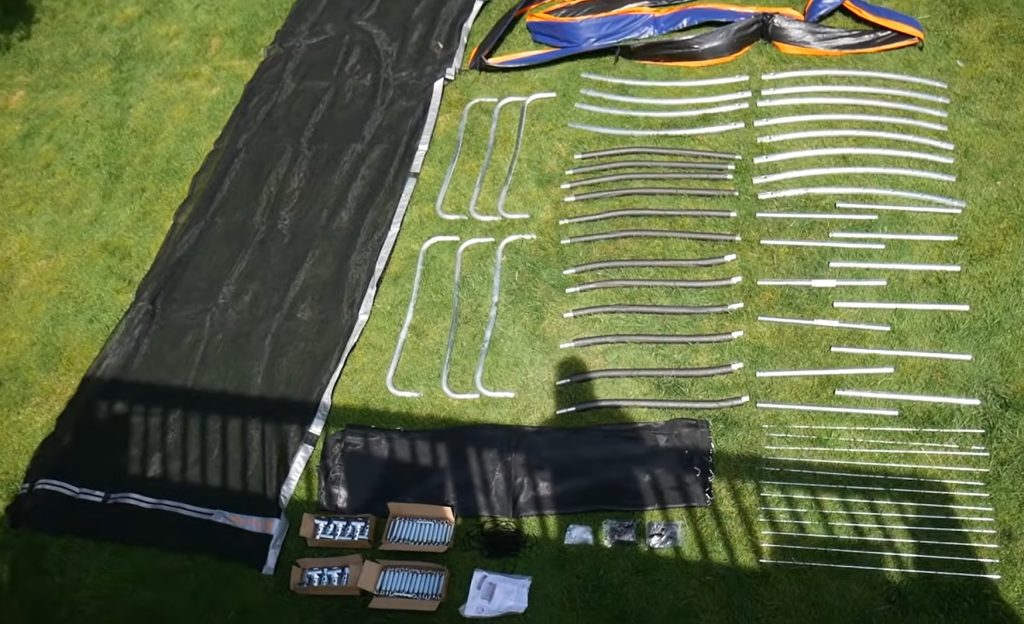
First and foremost, you must open the boxes and inspect the parts and tools, often arriving in 2 or 3 packs. Check that all of the necessary components, as specified in the trampoline instructions, are available. The absence of even a single element might be a cause to postpone constructing the trampoline. Trampolines boxes often comprise the following items:
- Tripod, T-sockets, and trampoline base (varying on the size of the trampoline)
- Netting for enclosure
- Rods for enclosures
- Trampoline ladder made of steel
- Ropes and attaching equipment
- Covers and cushioning for trampoline springs
Read the trampoline components list once again. If you find a broken or damaged component, rips or breaches in the trampoline mat, or any other flaws, please contact the vendor right away. They would either supply the missing parts or exchange the trampoline with a new one.
Step 2: Check the Tools Required for Assembling
Assembling the trampoline is not a difficult task that you cannot complete. However, you are unable to do so without the appropriate instruments.
Manufacturers, thankfully, provide a few of these. Occasionally, you will require several additional tools and accessories that must be controlled. The assembly tools supplied by the company are as follows:
- Phillips’s screwdriver
- Spring puller
- Rubber mallets.
Other necessary equipment and supplies include:
- Power drill
- Protective gloves
- Wrench set for adjustment purposes.
Step 3: Go Through the Manual
It is critical to thoroughly study the trampoline instructions to understand how to put a trampoline together. Most trampoline manufacturers include detailed directions. So, to prevent errors, read everything attentively. Also, store the instructions in a secure location since it will be helpful if you need to repair any components of the trampoline.
Step 4: Start with the Frames and Legs
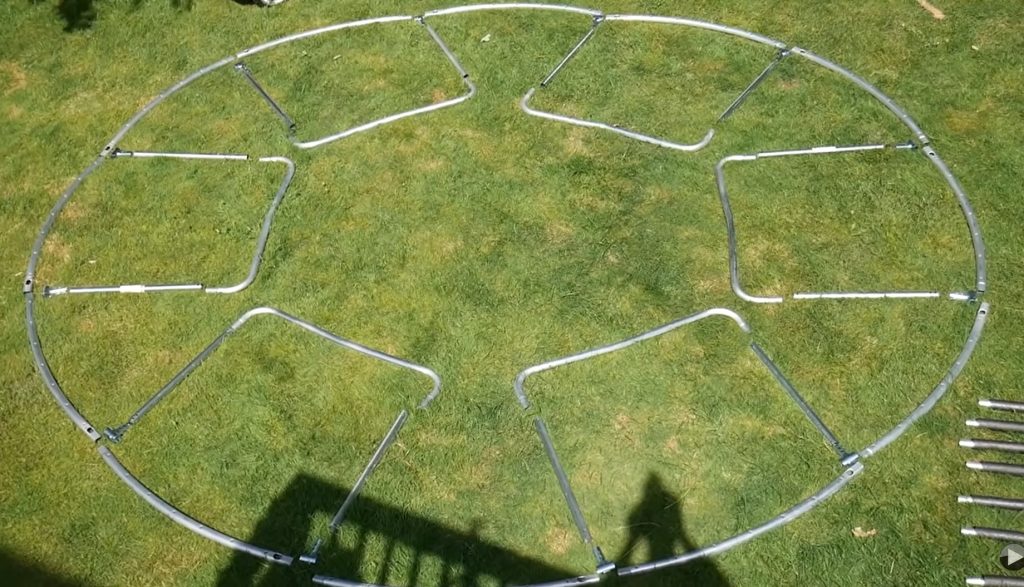
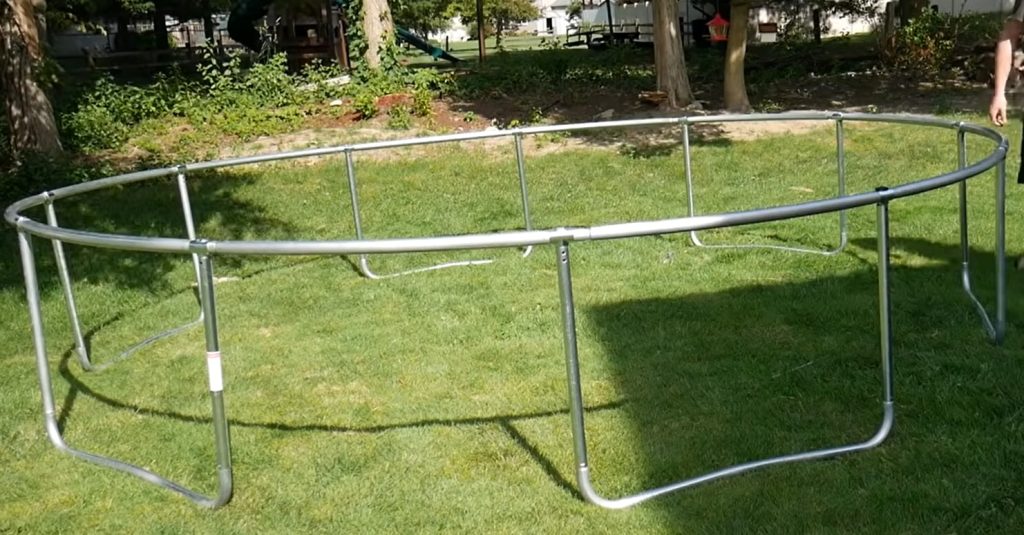
Start by setting up the frame. You may lay out the frame components on the ground. Ascertain if there is more capacity and room to install the extensive form. Then, attach the T-segment to the frame components, and the T-sockets assist in connecting the frame to the legs.
Start putting one piece into the next until you have a full circular cross-section ring. This is the trampoline’s base. With this basis, the remaining components of trampolines may be slowly added.
Begin adding the legs once you’ve finished the ring base. There will be locations on the rings where you may join the legs with rings. Connect each leg to the T-segments. It is simple to connect the legs to the base ring.
Step 5: Install the Springs and the Mats
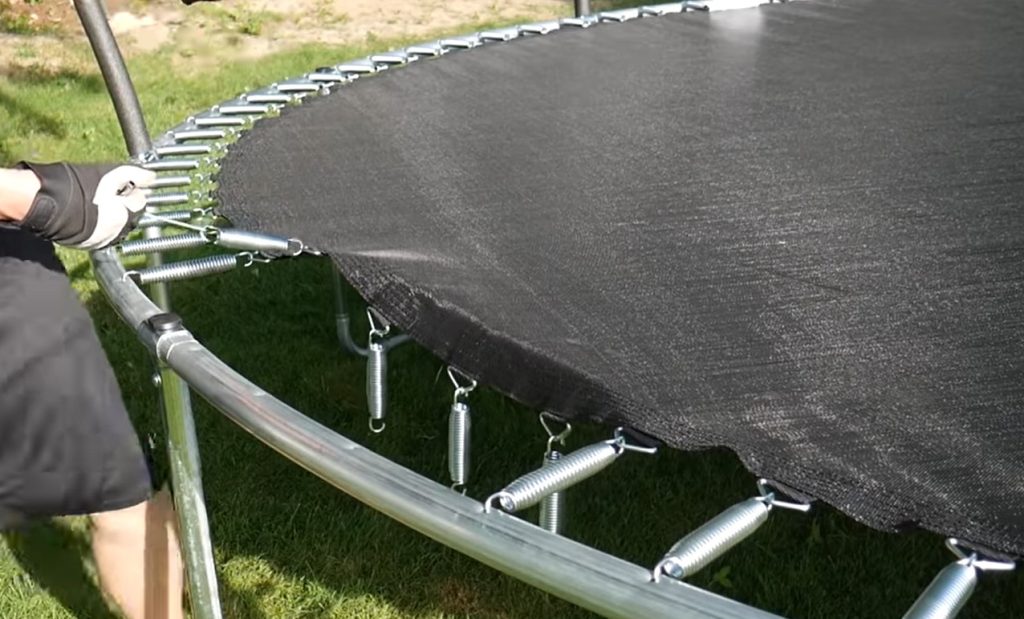
When setting up a trampoline, most users are perplexed about whether springs or mats should be put in initially since they are already attached to the trampolines. So now we’ll show you how to install springs and mats for the trampoline.

One side of the spring should be attached to either mat’s v-rings, while the other should be attached to the structure. Then, join the second spring to the opposite end of the first one, in the same way. Now, connect a spring at a 90-degree angle to the previous two and another on the other side. After that, click the different springs to the mat and frame.
A spring puller is quite helpful in drawing the springs, and a rubber mallet helps strike the springs and snap them into position. The practice of inserting springs alternately on opposite sides will maintain the tension equally.
Step 6: Add the Safety Pad
The trampoline pad prevents users from direct contact with the springs. The foam cushioning also provides a cushioned feel and protects against shock impact accidents. Ropes or hooks are used to secure the safety pad into the frame. It also passes through the poles of the cage.

Best trampolines now have direct mat-to-net changeover; these trampolines do away with the pad entirely.
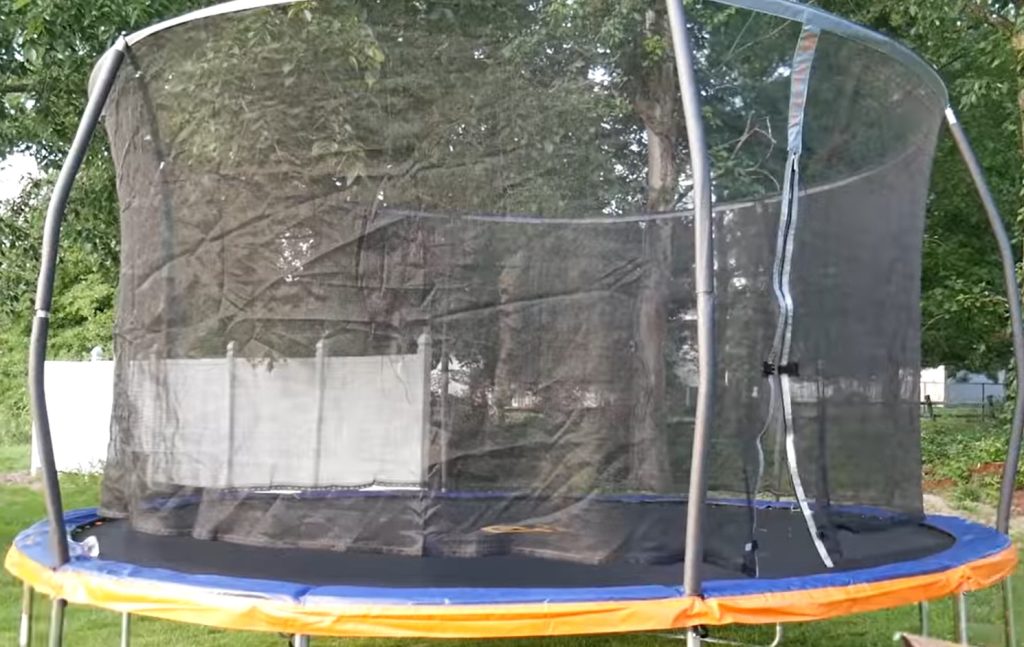
Step 7: Add a Safety Net
Most outdoor trampolines include an enclosing net covering the trampoline structure from direct contact and preventing falling outdoors.
Typically, the net poles serve as the structure for the enclosing net. These poles fit easily into custom-made frame slots. The screws are then tightened, and the enclosing cushions protect users from injury by covering the bars.
After fixing the poles, you must connect the net to the bars. Next, use the net to secure the bungee rings or ropes to the frame.
Step 8: Add the Ladder and Secure it with Anchor Kit
Adding the ladder allows children to enter and depart the trampoline quickly. An anchor kit should also be hammered into the surface and linked to the trampoline to secure the trampoline to the ground.
Common Trampoline Assembly Problems
Here are some common trampoline assembly problems and their solutions:
- Uneven Ground: If the ground is not level, it can cause the trampoline to wobble or tilt, leading to an unsafe bouncing experience. To solve this problem, use a spirit level to ensure that the ground is even before setting up the trampoline.
- Missing or Damaged Parts: Sometimes, trampoline assembly kits may be missing parts, or parts may be damaged. In such cases, contact the manufacturer immediately to request replacement parts. It’s important not to use the trampoline until all necessary parts are present and in good condition.
- Difficulty with Spring Installation: Spring installation can be one of the trickiest parts of trampoline assembly. A helpful tip is to attach the springs in a clockwise or counterclockwise pattern, one spring at a time, rather than attaching all the springs on one side at once. This can make the process more manageable and less frustrating.
- Tightening the Frame: The frame of the trampoline needs to be tightened properly to ensure stability and safety. If the frame feels loose, use a socket wrench to tighten the bolts and nuts, making sure to alternate between opposite sides to maintain balance.
- Safety Net Installation: Installing the safety net can be a challenge, especially if you’re doing it alone. It’s helpful to have another person to hold the net in place while you attach it to the frame. Also, be sure to double-check that the net is securely fastened before allowing anyone to use the trampoline.
FAQs
Conclusion
This is undoubtedly a comprehensive description of how to set up a trampoline. Here we describe how to assemble spring-based outdoor trampolines. There are also several sorts and kinds of trampolines that come with each of its construction methods. After reading this installation guide on how to put a trampoline together, we hope you have no questions. Have a wonderful day trampolining with your family!

I have been involved in the world of gymnastics for over 20 years! I started gymnastics when I was 5 years old and excelled in the sport eventually finding a way onto a team where I competed throughout high school and into college. With a passion for gymnastics and specifically Trampolines, I have decided to start a blog TrampolineMag, A trampoline magazine. I will share all the reviews, suggestions, and things I have learned about trampolines to make your trampoline experience fun and safe.